Taxes
Tax submission for custom tax solutions—Generally available
Our new tax submission workflow streamlines the tax filing process for any company using a custom tax solution.
Details
When you configure a custom tax solution in the Taxes application, you can now set the submission process for that tax solution as User-submitted. This lets you record tax submissions for any company or entity that uses a custom tax solution. When you create a tax submission, Sage Intacct locks transactions that are included in the tax submission period. You can run reports on the tax records for those transactions to extract the data you need to file your taxes. After you complete your manual tax filing, you can mark the submitted transactions as filed.
How it works
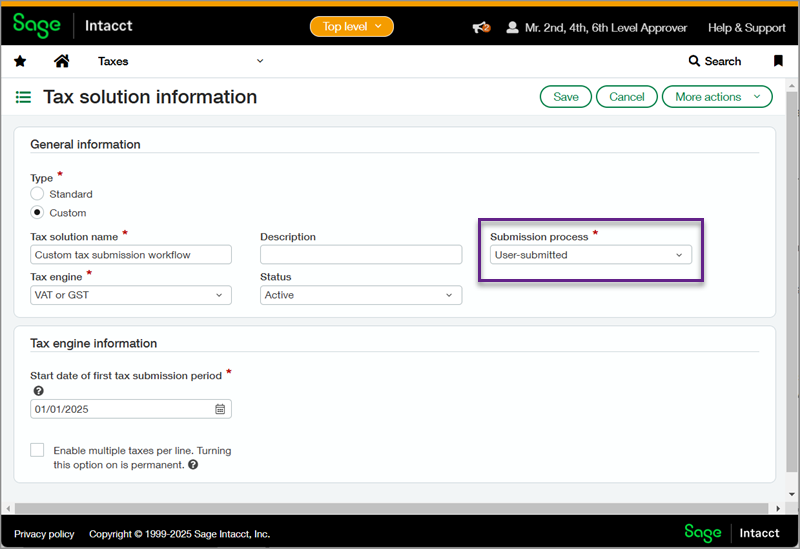
Step 1. Define the submission type for your custom tax solution
-
To configure a custom tax solution, go to Taxes > Setup > Tax solutions.
-
Select Add and enter your tax solution information or select Edit for an existing custom tax solution.
-
For Submission process, select None or User submitted.
-
If you selected User submitted, enter the Start date of the first tax submission period.
-
Select Save.
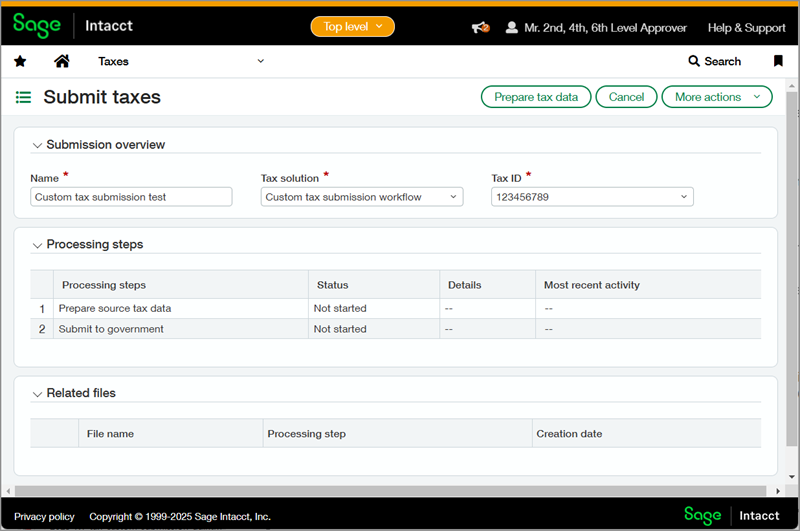
Step 2. Create a tax submission
When you're ready to create a tax submission, you can follow the streamlined submission process for custom tax solutions.
-
Go to Taxes > All > Tax submissions.
-
Enter the information for your custom tax solution and select Prepare tax data.
-
On the Processing data offline page, enter the start and end dates for the submission period.
Optionally, you can select the checkbox to Include late transactions. -
Select Continue.
The tax records in the submission period are locked and your tax submission appears on the Tax submission list page. From that page, you can View, Edit, or Delete your tax submission. Deleting a tax submission in progress releases the locked records.
Step 3. Optionally include additional information and review
-
To update your tax submission, select Edit.
-
You can add an Attachment, enter the Submission date and Submitter's email address, and add any relevant Notes.
-
You can review the Processing steps.
Under Details, you can select [#] records eligible for submission to review the locked tax records for the submission period. -
Select Save to save your changes without closing the submission, or select Mark as Filed to close the submission, unlock the tax records, and mark them as filed.
Permissions and other requirements
| Subscription |
Taxes |
|---|---|
| Regional availability |
All regions |
| User type |
Business |
| Permissions |
Taxes
|
| Restrictions |
Companies or entities must use a custom tax solution. |